In art and design/photography, we are given varies of
different workshops to complete in the next upcoming weeks related to our new
project “hands on” to create imaginative and unusual pieces of art. Each
workshop is different, for instance there is photography, 3D work, paint
printing and many more all to be seen in my blog in the upcoming weeks. My
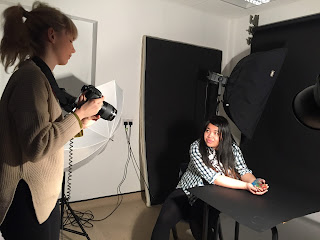
first workshop was photography and I and my two other class mates were guided effortlessly
by our instructor Victoria who is also a photography herself considering her
worked has been in magazines, newspaper and even vogue which likewise I would
like to achieve.
In the process of the workshop we were learnt different
types of techniques such as using manual on a camera and what comes along with
it like:
Shutter speed(self-explanatory): Which is in simple terms the
shutter at the front of the camera what focuses on the object or area you are
taking a picture of, for instance on the camera the shutter is open when your
finger puts pressure on the button. The longer the shutter is opened for the
more blurred the image with be where as if it is only open for a short amount
of time it won’t be as blurred. Also on the camera you will see something like
this “1/60” this is the shutter speed and the higher the number the clearer the
outcome of the picture will be.
Aperture (opening): The aperture is basically an opening,
hole, or gap. So for example the larger of the opening the more light is passed
through but the depth of field will be smaller, where as if the opening is
small there is less chance that the light will pass through. Likewise on the
camera the aperture will look like “F24”, for example if the number is small
the hole on the camera will be wide open but the area of focus will be small
which leads to a shallow depth of field. Nonetheless if the number is fairly
large the hole will be smaller and it will enable your camera more focus and a
larger depth of field.
ISO (quality of light): The camera's ISO setting is its
sensitivity to light. The higher the ISO, the more sensitive it is. As well as
letting more light pass through it also collects information. The less light
passing through the higher the number looking like this “iso” on your camera.
Exposure: A
photograph's exposure determines how light or dark an image will appear when
it's been captured by your camera. This is why elements are required such as if
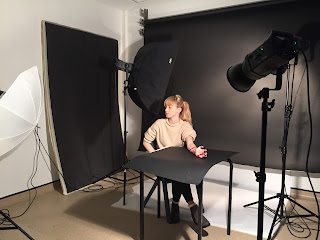
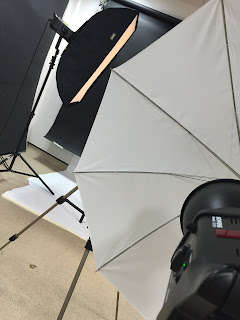
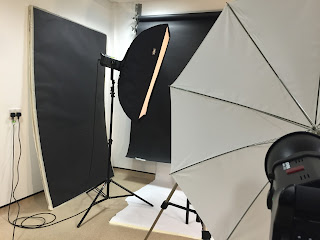
you are in a studio you will need different types of lights. We used flashguns,
flash head reflector, Light Modifiers, Light Stands & Mounting and much
more.
Throughout the workshop we were given little projects to do
each individually or in groups. Firstly, we were all given a camera and were
instructed to change it to black and white, to explore different effects and
change the techniques we were shown to get a good quality, but remarkable
photography of our hands. We had to explore and experiment with the camera’s
and use our thoughts to create something unusual that no one had ever done and
think outside the box. Throughout our first project Victoria was explaining and
describing the main words also another technique called the rule of thirds what all photographs need to have the best quality. A good photography must know these certain words, such as; balance,
leading lines, pattern, alternative view point, framing and experimentation.
All very important and lead to the perfect photograph. But not all of these are
required in every photo in depends on what you are wanting to capture and how
effective you want it to be and so much more.
Balance: Is a compositional technique in photography that contrasts
images within a frame so that the objects are of equal visual weight.
Leading lines: They're used to draw a viewer’s attention to
a specific part of the frame, whether it's a person or an object.
Pattern: A good look to make the photograph look more stimulating
and unique.
Alternative view point: Is different and unusual angles that
photographs are taken from, for example from an above view or lower view.Experimentation: Using your own and unique ideas and purposely discovering something unknown, also be creative.
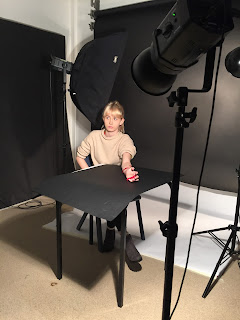
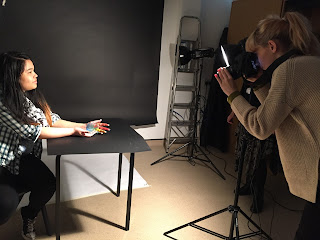
Moving on to project 2 we started to explore and create
different types of images using different types of light equipment and thinking
of our own independent ideas to try and show either our true colours,
personality, a life experience. It could have been anything but it had to
capture something related to you with your hands using the studio. I choose a
very deep thought for my project relation to my pasted with bullied and I felt
confident with my idea which showed anger and relief in the photographs that
had been taken of my hands showing my idea and emotional side. In the process
of all of our project we went through small difficulties with the lighting but
it wasn’t a problem as we were constantly adjusting, taking a photo, adjusting,
taking a photo until we got what we wanted in the process and knowing we would
get there in the end. Another difficulty for myself was using adobe Photoshop
as I had only ever used it once before in my whole life time but it did not
stop me from getting one of my photographs perfect and with Victoria’s help
made it happen. Overall, I found the workshop very inspirational as I too
aspire to be a photography and to be taught by Victoria whose work has been in
magazines and many more public places, it just topped it off all off and put me
in the right mind set on what I want to do myself and I know I will work
incredibly hard to get there. Just working in the studio made it all seem all
real and hopefully one day it will be. One thing I think we should have changed
was doing more projects the workshop was just not long enough so for next time
because I have a huge affection for photography
I think it should have been extended, also to show more skills being used by
myself my class mates.
No comments:
Post a Comment